.jpg)
Rapid Vector Layer Rectification
If you need to rectify the vector layers, in this chapter you can learn how to rectify vector layers rapidly with SuperGIS DataRectifier.
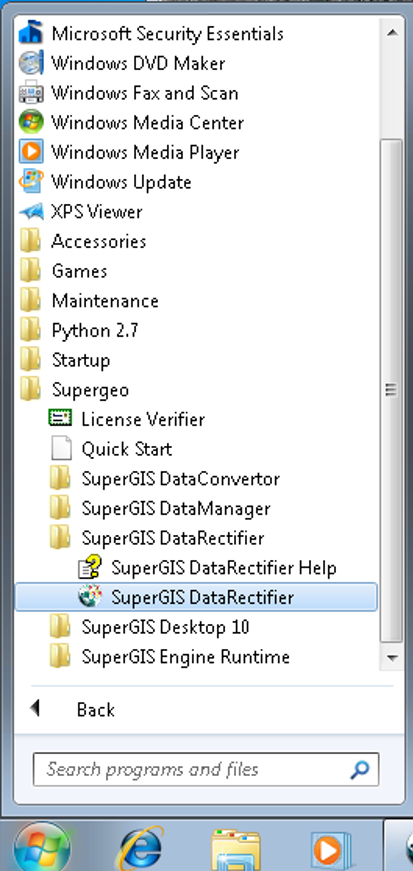
1. Start SuperGIS DataRectifier.
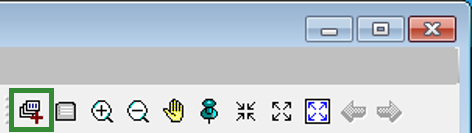
2. Click Add Source Layer button, select the vector layer you would like to rectify in Open window (supported vector layer formats including, *.GEO and *.SHP), and add the selected layer to SuperGIS DataRectifier.

3. Click Add Reference Layer button, select one or multiple raster layer(s) or vector layer(s) in Open window (supported 7 raster layer formats, like *.SGR, *.SID, *.ECW, *.LAN, *.JPG, *.BMP, and *.GeoTiff and 2 vector layer formats, *.GEO、*.SHP) and add the selected layer to SuperGIS DataRectifier.
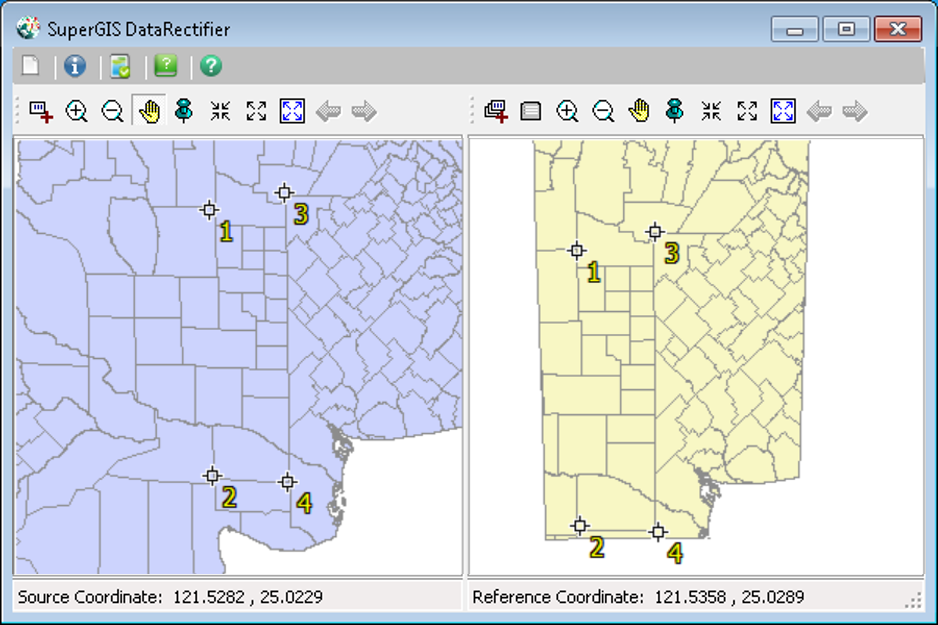
4. Adjust the source layer and reference layer to the most appropriate extent and scale.
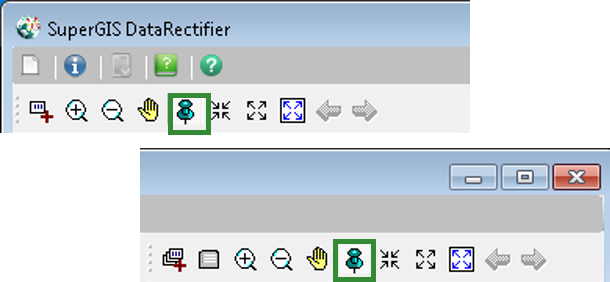
5. Click Add GCP button on Control Toolbar in either source layer or reference layer, and add the corresponding GCPs (at least 4 GCPs for each layer).
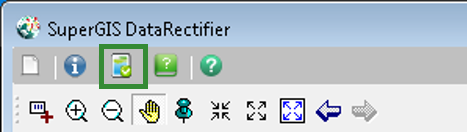
6. Click Rectify button to open Save as window.
7. In Save as window, input the file name for the file you would like to rectify and choose the vector format , either GEO Files(*.GEO) or SHP Files(*.SHP) you want to save in Save as type. Then, click OK to start rectification.

8. After being rectified, the layer will be displayed in the source layer. Then, you can continue the next rectification.
© 2016 SuperGeo Technologies Inc. All Rights Reserved.