.jpg)
Starting to Rectify
Before rectifying the layers set GCPs already, you need to choose the output file format. If the source layer is in vector format, you can choose *.GEO or *.SHP formats which are supported in SuperGIS DataRectifier. If the source layer is in raster format, you can choose to export the layer as *.LAN or *.JPG format. After the output file format is decided, SuperGIS DataRectifier can rectify the data immediately.
Moreover, when you click Rectify button to open Save as window, you need to pay attention to the file name which should not be the same as the current source file. If you input the same file name, SuperGIS DataRectifier will show a warning message “The output filename should not be the same as source” to remind you that you need to change the file name to continue the rectification.
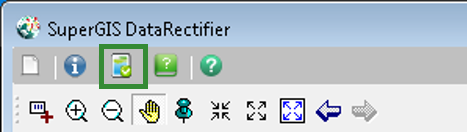
1. Click Rectify button on the Main Toolbar.
2. In Save as window, browse the location for saving, input the file name, and choose the file format for Save as type.
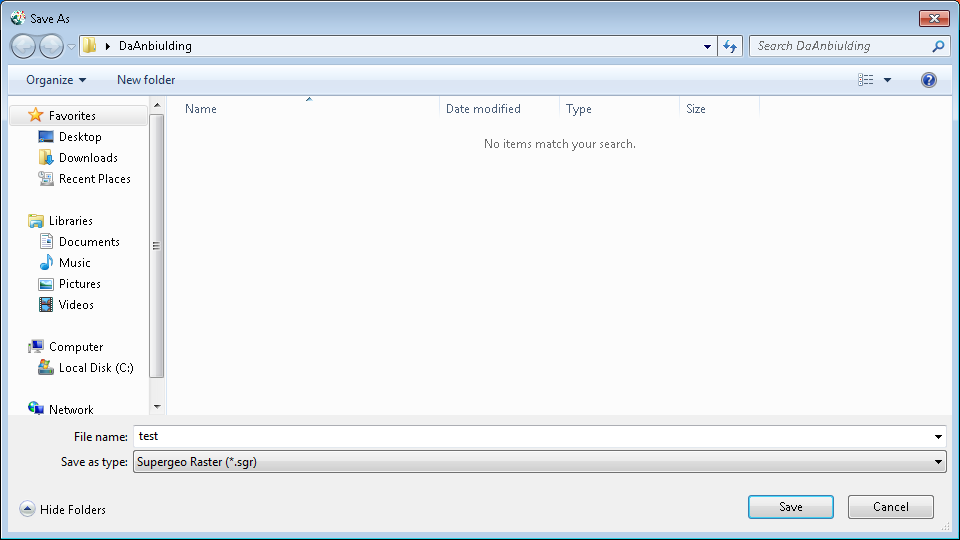
3. Click Save button, and SuperGIS DataRectifier will start to rectify the data. The rectification progress will appear as the rectification is being processed.
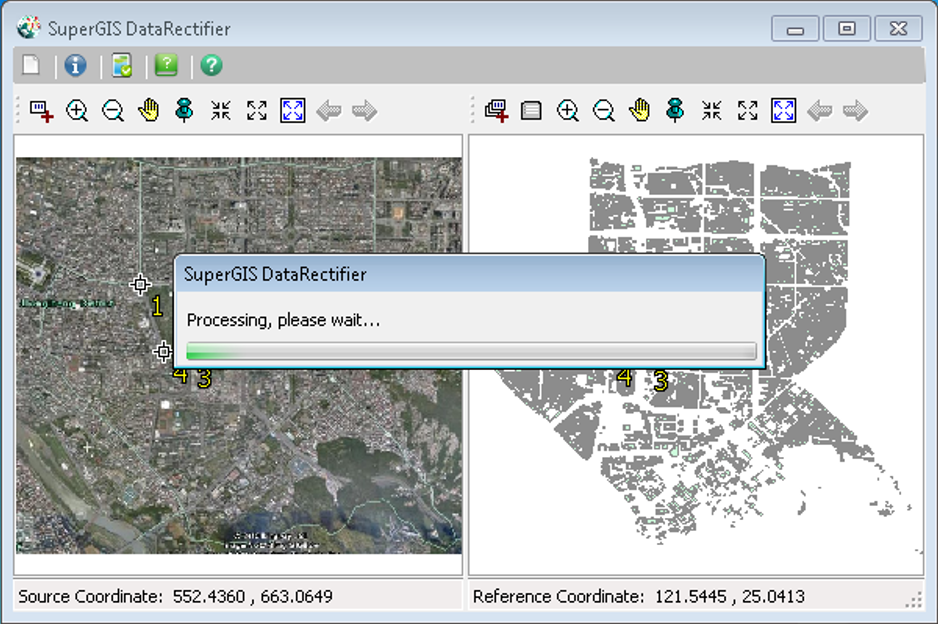
4. The rectified results will be displayed in the source layer window of SuperGIS DataRectifier, and the rectified layer is exported and completed.
© 2016 SuperGeo Technologies Inc. All Rights Reserved.