
GPS Tracklog
1. |
Open "GPS" toolbar, connect GPS and SuperGIS Desktop. |
2. |
Click "GPS" drop-down menu and click "Tracklog Settings." |
3. |
Follow steps in "Tracklog Settings" to add or open a tracklog. |
4. |
When a tracklog file is opened or added, the two functions on "GPS" toolbar of "Start Streaming to Tracklog" and "Stamp Current Position to Tracklog" become usable. |
5. |
Click "Streaming to Tracklog", system will follow the settings to record attribute data of GPS route. |
6. |
If you only want to record the tracklog data of current GPS position, you can click "Stamp Current Position to Tracklog" and SuperGIS Desktop will record the current GPS position in accordance with your Tracklog Settings. |
.png)
7. |
If you want to stop tracklog recording, click "Stop Streaming to Tracklog." |
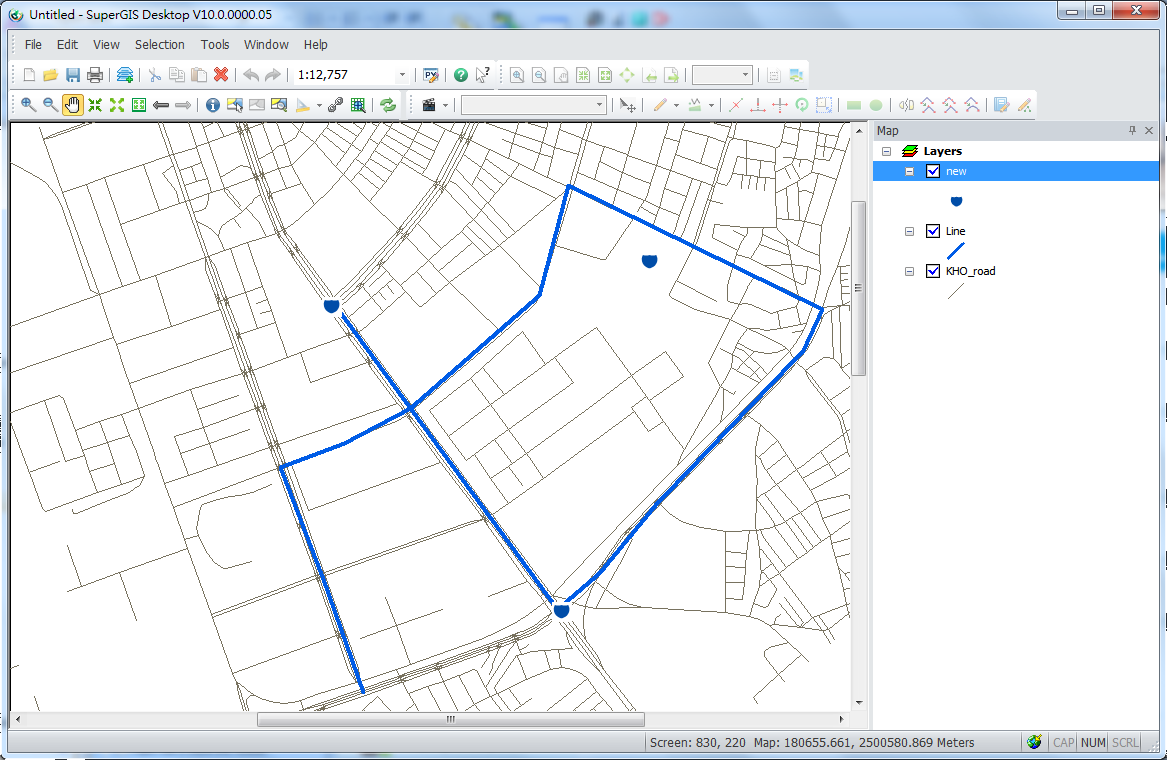
8. |
If you want to view GPS route record, click "Add Layer" on the standard toolbar and select the layer that records wanted GPS route tracklog. |
9. |
Displays the selected tracklog layer on the map window, right-click on the layer to show function menu. |
10. |
Click "Open Table" on the menu to open the attribute table of this layer. |
11. |
You can view the record result with the attribute table. |
NOTE: When you add a tracklog layer into the map, you can right-click on the layer and click "Properties" on the pop-up menu, then re-set the symbol of this layer in Layer Properties dialog box, so that the layer tracklog can be easily and clear to view.
NOTE: Either the tracklog is stored in point or line layer, when it gets involved in recording attribute of date or time, system always records in UTC Date and UTC Time.
©2015 Supergeo Technologies Inc. All rights reserved.