
Delete the existing configuration
1.
|
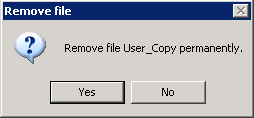
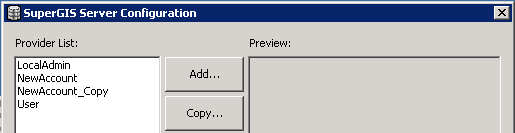
Please select the configuration that you want to delete in the Provider List and click Delete. The Remove File confirmation window shows up on the screen. If you are sure to delete the file, please click Yes.
|
2.
|
After the file is deleted, the configuration you just selected in the Provider List is deleted.
|
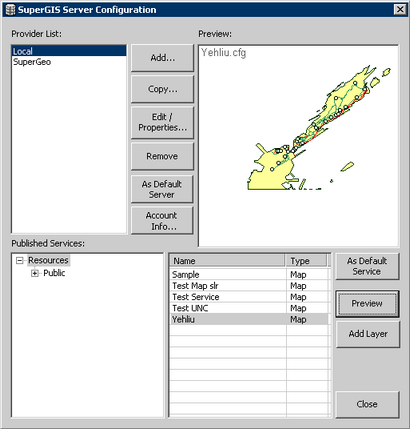
The lower part of the SuperGIS Server Configuration window allows users to manipulate the Published Services, such as Switch Folder or Select service. The buttons on lower right part of the window are used to manipulate the selected service, like Preview or Add Layer.
In the next, we will introduce the manipulation of published services.
1.
|
Switch Folder. Please manipulate in the folder tree in the left side of the Published Service. You might click "symbol to expand the sub folders or click" to hide the sub folders.
|
2.
|
If you click a folder and find no / or symbol, it means there is no sub folder under it. Or you can directly click Folder Name to Select the folder without considering whether there are any other sub folders or not.
|
3.
|
Select the service you want to use. After you have selected a folder from the folder tree in the left side of the Published Services, all the published services in this folder will be shown in the right side. Please click directly the service you want to use in the list and the Preview and Add Layer buttons in the right side will be enabled. If the previous result is displayed in the Preview area, it will not be cleared.
|
4.
|
Preview. After clicking the service that you want to use in the service list in the right side, click Preview to its right side. Then, you will see the service preview in Preview in the upper right side. Unless you execute another service preview, the display result in the preview area will not be cleared.
|
5.
|
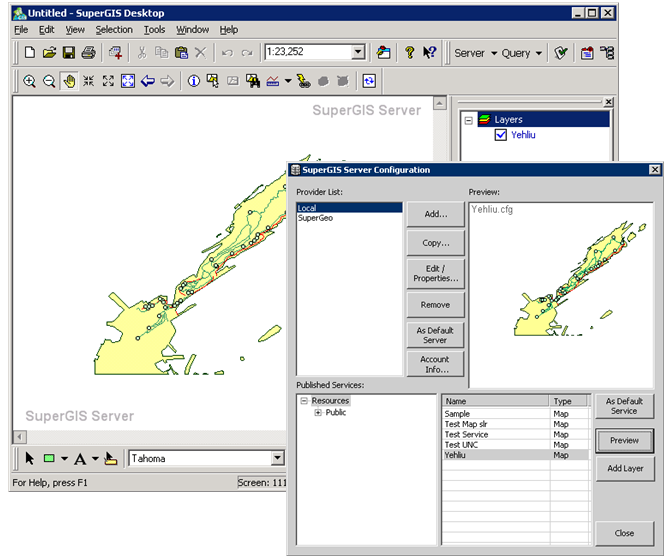
Add layer. Click the service that you want to use in the service list in the right side and then click Add Layer. The program will try to add the service you select to Layers in SuperGIS Desktop. If the service is successfully added to SuperGIS Desktop, you will see the newly added SuperGIS Server layer in the Layers window.
|
6.
|
You can add other layers in the same way.
|
7.
|
If Provider has other plug-in service extensions and you are given the permission to use the service, the screen will be a little bit different when you are clicking the plug-in service.
|
8.
|
As to the manipulation of plug-in extension, please refer to the description of the plug-in extension.
|
9.
|
When you finish the manipulation, please click Close to end the server connection and the use of published services.
|
©2017 Supergeo Technologies Inc.
|