
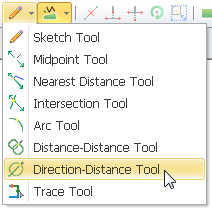
Direction-Distance Tool![]()
“Direction-Distance Tool” will generate two intersections by digitizing a straight line and a circle and let users select one of the intersections as the next vertex. To add a vertex with “Direction-Distance Tool”, firstly, click “Start Editing”![]() , select “Create New Feature” and then “Direction-Distance Tool” from “Sketch Tool. Next, digitize a straight line on the map window.
, select “Create New Feature” and then “Direction-Distance Tool” from “Sketch Tool. Next, digitize a straight line on the map window.
There are two methods for users to digitize a straight line.
1. Select a point on the map as the center of axis to rotate the straight line. The straight line can be rotated to set its direction when mouse is released right after the point is clicked. In the meantime, the status bar at the lower left corner will reveal the current direction and angle of the straight line.
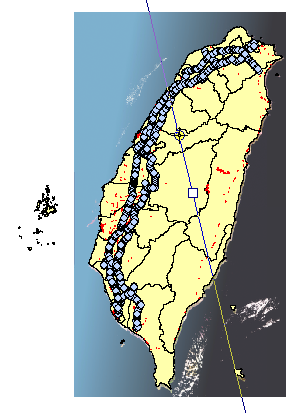
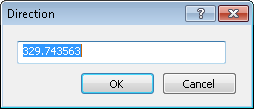
2. Click a point on the map as the center of axis and then press “d” button. The “Direction” window shows up. Set the angle of the straight line you want in “Direction” window and click “OK” or press “Enter” button. Afterwards, the digitized straight line shows up on the map.
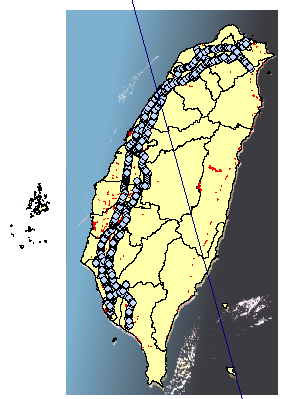
Click on the map when the direction of straight line is decided, and the direction of straight line has been fixed. Then digitize a circle. The same as “Distance-Distance tool”, the circle must intersect with the straight line.
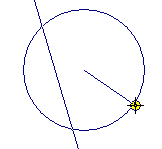
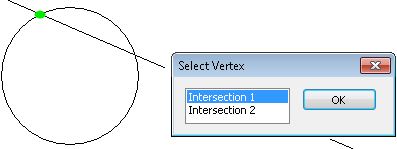
After the straight line and circle are digitized, two intersections are generated. “Select vertex” window in which users can select one intersection as the vertex shows up. When one of the intersections is clicked, the selected one will flash on the map. Click “OK” and the vertex has been digitized.
©2015 Supergeo Technologies Inc. All rights reserved.