
Adding Geodatabase Layer
In addition to feature layer and raster layer that can be added onto the map through “Add Data" function, users can also utilize this function to connect to Geodatabase and add layers from database onto the map.
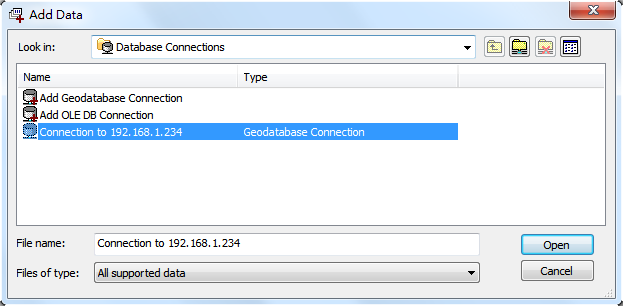
1.Select “Add Data” tool on “Standard” toolbar or right-click on the “Layer Set” to open “Add Data” window. Then click “Add Geodatabase Connection” to open “Add Geodatabase Connection” window.

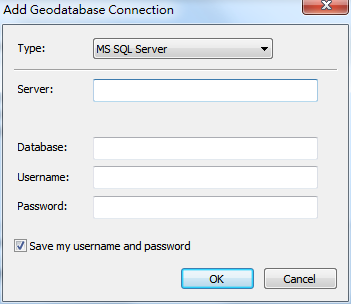
2.In “Add Geodatabase Connection” window, please select database type in the “Type” drop-down menu. Now, MS SQL Server, Oracle and PostgreSQL Server are provided for connection. Please enter server name, database name, user name and password, and click “OK.”
3.Now, the Geodatabase connection is added into “Add Data” window; and the IP address of the connected database is shown in this window, too. Please select the connected database and then click “Open”.
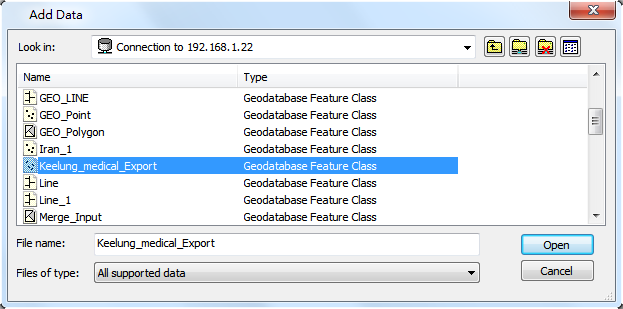
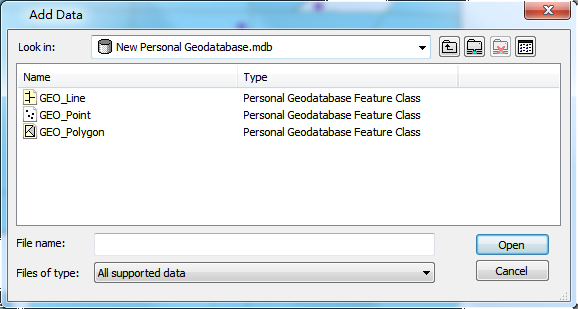
4.All the layers of the connected database will be listed in the “Add Data” window. You can select a single layer or select multiple layers by utilizing Ctrl key, and click “Open”.
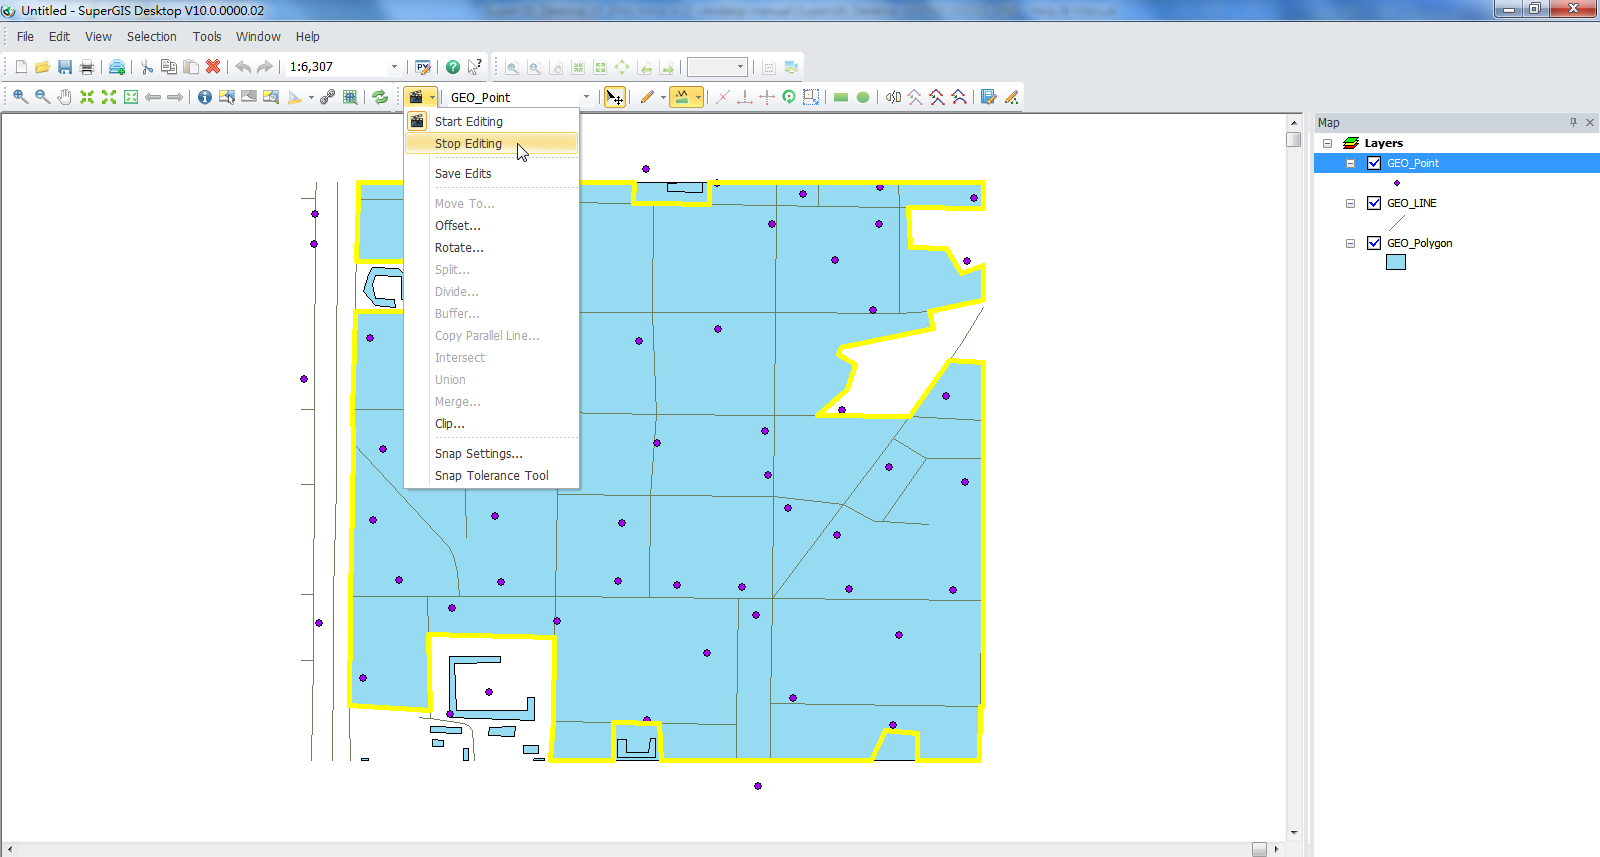
5.Afterwards, the selected layers can be imported to Desktop. You can edit features and attribute data with editing tools in the same way of editing layers on your map. While the editing is finished, please click “Save Edits” in the “Start Editing” drop-down menu to save the edited layer back to the database.
Note: To know how to add new Personal Geodatabase and settings of uploading geographic data to Geodatabase, please refer to descriptions in chapters “New Personal Geodatabase” and “Geodatabase” in Datamanager Help.
Besides, the Personal Geodatabase (MDB File) you added through DataManager needs to be imported to Desktop by “Add Data” function. Find the folder saving MDB file in “Add Data” window, and you can import the specified file afterwards.
©2015 Supergeo Technologies Inc. All rights reserved.