
Adding Layers
The second step to create a map project is to add the layers you need. Besides the GEO file defined by SuperGIS Desktop, Shapefile, MIF and CAD files are also supported. The supported image files include SID, ECW, BMP, JPG, Tiff, GIF, PNG and so on. There are different manipulations to set the layers of different formats. How to add layers is going to be introduced; the detailed settings will be presented in the following section.
In SuperGIS Desktop, there are 4 ways to add layers.
Method 1: First, click "Add Layer" button on "Standard" toolbar.

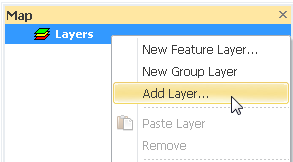
Method 2: Or you can right-click "Layers" in "Data Content" and click "Add Layer."
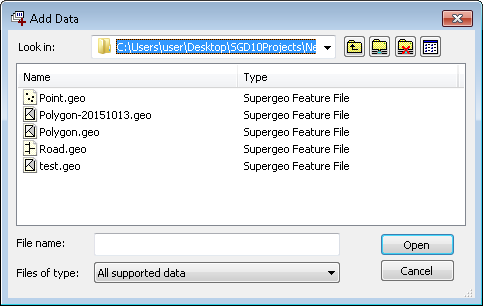
In the two ways mentioned above, "Add Layer" window will show up. Choose the folder the layer saved in and click "Open." The selected layer will be added in the map window. The files in "Add Layer" window are listed with the icons presenting its geometry; you can add multiple layers at the same time.
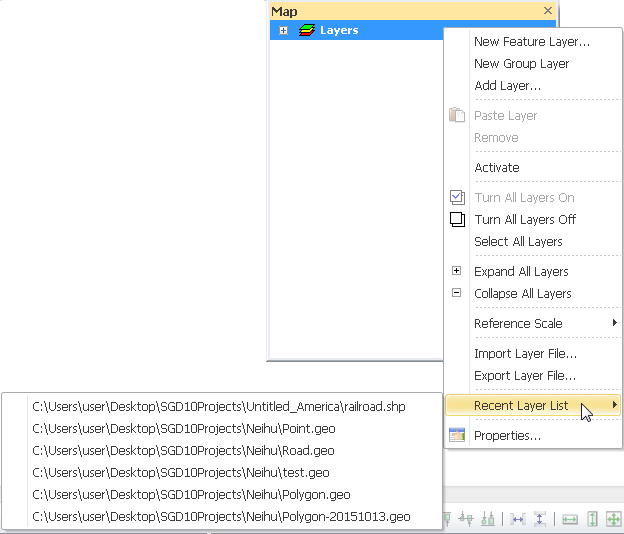
Method 3: You also can right-click "Layers" in "Data Content" and click "Recent Layer List", and the file list appears. You can choose a layer and add the layer directly.
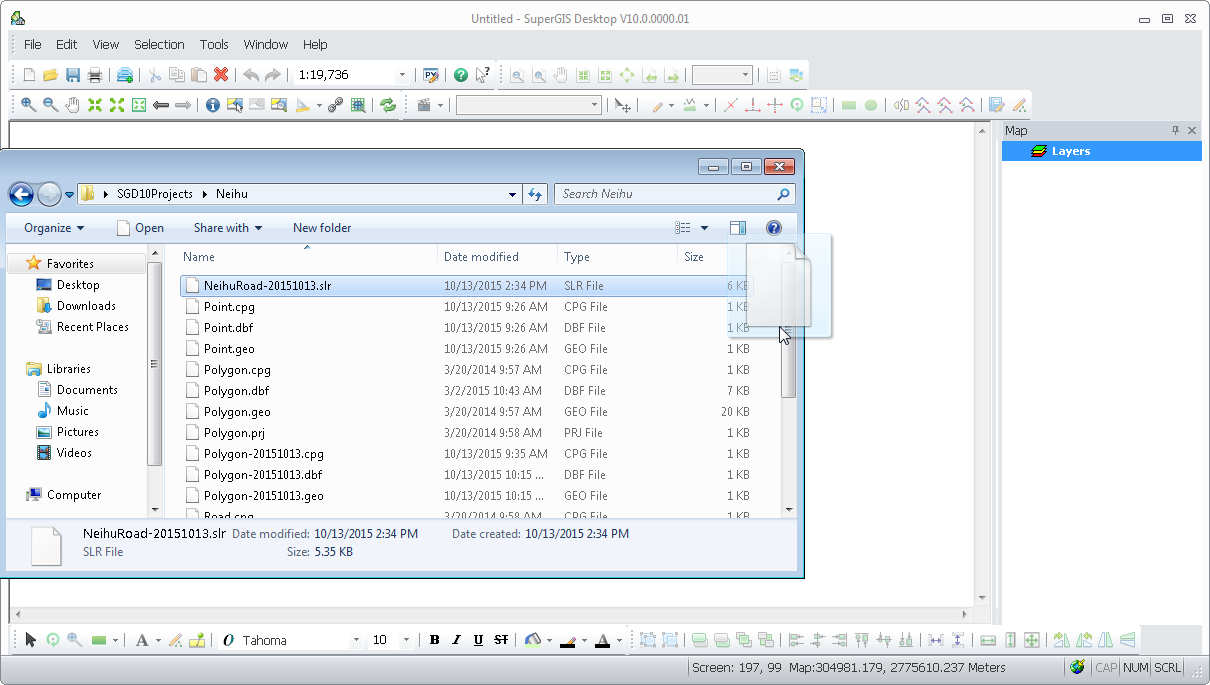
Method 4: In addition, you can open a folder and drag the layer you need to "Data Content." The layer will be displayed in the map window directly.
"Add Layer" tool enables you to add the layer you want to display. If the layer you add is vector layer, SuperGIS Desktop will randomly define the symbol type and color for the layer. If you would like to modify the setting, you can modify them in Layer Properties. Once the file is saved, the settings will be saved, too. Therefore, next time you open the file, the layer will be displayed based on your settings.
Besides vector layers, there are also image layers (i.e. raster layers). SuperGIS Desktop supports several raster formats, such as SID, ECW, BMP, JPG, Tiff, GIF, PNG, etc.
The way to add image layer is the same as the way described above. Click "Add Layer" button on "Standard" toolbar, and "Add Layer" window shows up. Choose the image file you need and click "OK." The image layer will be displayed in the map window.
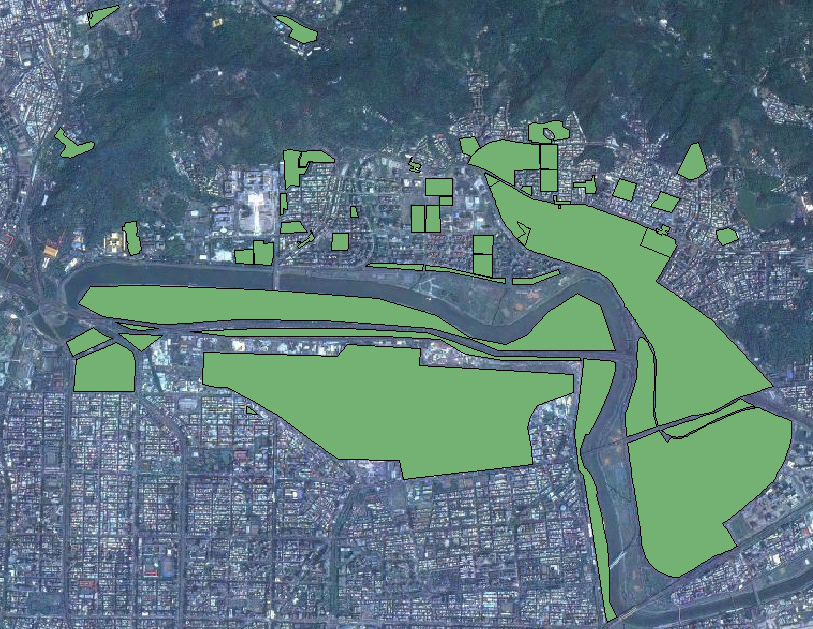
Take the image file for example. You can add vector layer and image layer into the map at the same time. The map window will display like the following graph.
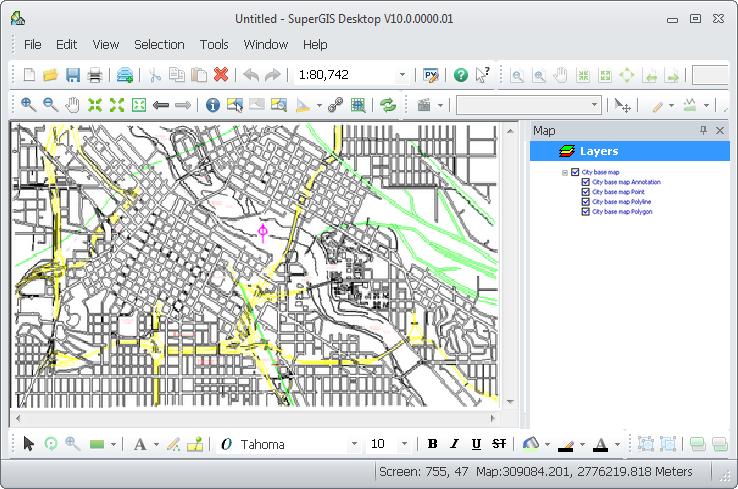
Furthermore, besides the vector and raster formats, SuperGIS Desktop also supports the display of CAD format. The way to add CAD format is the same as the way mentioned previously. However, what should be noted is that CAD file format is special so that the CAD file can be only viewed and overlaid in SuperGIS Desktop. The legends cannot be modified, and the attributes cannot be identified. Additionally, CAD format contains points, polylines, polygons, and annotations, so " Data Content" also lists the 4 types of features. You can tick the layer you want to display and remove the tick of the layer you do not need. The map window will display the map according to your settings.
©2015 Supergeo Technologies Inc. All rights reserved.