
Creating a New Feature Layer
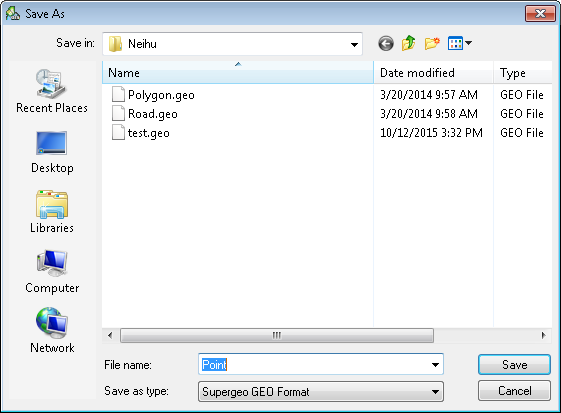
1. Firstly right-click "Layers" in "Data Content", select "New Feature Layer" and "New Feature Layer" dialog box shows up. Here the type of layer and the coordinate system can be set, then click "OK" to select the folder to store and type the filename. Finally the layer will be added to the map window.
.png)
.png)
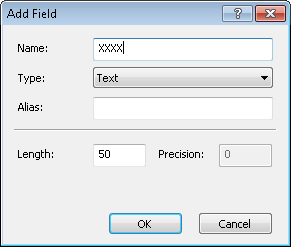
2. Secondly, set “Layer Type”, “Code Page” and “Source Coordinate System” with the drop-down menus in “New Feature” window and add field with “Add Field.” If you want to add Z values please check “Add Z values” so that z values can be edited when you are editing vertex. Users can click![]() to open “Add Field”, enter filed name and choose layer type. “OK” is used to complete the steps of adding field. And then, the layer will be added by clicking “OK” in “New Layer” window and saving the file.
to open “Add Field”, enter filed name and choose layer type. “OK” is used to complete the steps of adding field. And then, the layer will be added by clicking “OK” in “New Layer” window and saving the file.
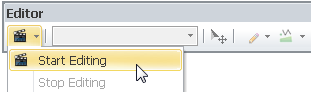
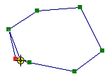
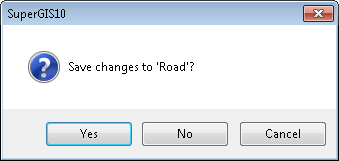
3. Next, click the "Start Editing" button on the "Edit" toolbar, select the layer name that you just add and you can start to digitize new features on the map window. When editing is finished, click "End Editing" and a query dialog box shows up. Click "Yes" to save the editing of the layer.
©2015 Supergeo Technologies Inc. All rights reserved.